


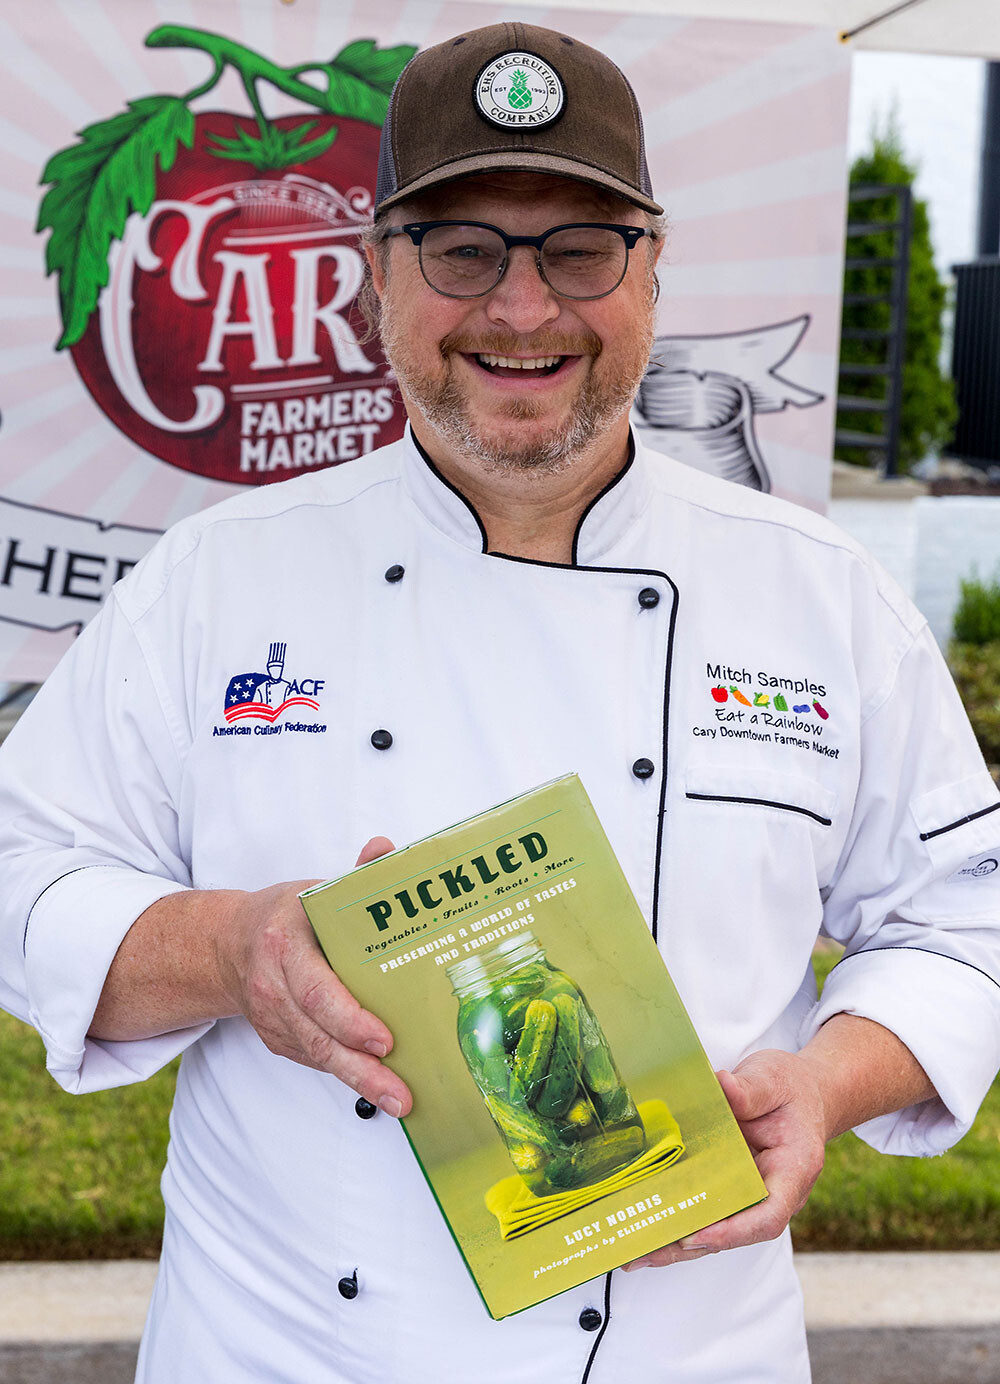
“If it looks bad or smells,” says Chef Mitch Samples about a pickled food, “don’t eat it!” Though he’s being (mostly) wry, Samples is here to reassure that pickling — which involves seasoning foods with salt, sugar, and other aromatics and submerging them in a vinegar and water brine that infuses them with a tangy flavor — is easier than we assume.
Although Samples considers some of what people choose to pickle (think pizza and ramen pickles, or meat in a gourd left out on a porch) “truly frightening,” the items, ingredients, and interval of time required for a truly dill-icious outcome are minimal.
- Allowing your boiling brine and contents to reach room temperature before you refrigerate is good practice.
- For softer produce, allow the brine to cool down before submerging to avoid overcooking.
- Salt should be between 2–5% of the brine, or roughly a tablespoon of salt for every cup of liquid.
- Measure water by weight and not volume to get the 3-2-1 ratio right.
- Feel free to mix veggies in a single batch, but be sure that textures are similar and be prepared for color changes.
- Taste while you wait. Since the container doesn’t need to remain airtight, making note of how the flavor changes over time is a good way to explore preference and possibilities for seasonings.
- Any good cookbook (like Chef Samples’ beloved Joy of Cooking) should contain a robust section on pickling that will contain relevant information, recommendations, and recipes. If you want to take things further, invest in The Complete Book of Pickling or The Joy of Pickling.
- Download a brine calculator if you’re concerned that your math isn’t mathing. We like preserveandpickle.com/pickling-brine-calculator/, madecalculators.com/brine-calculator/, and myfermentedfoods.com/tools/brine-calculator/.
- Consider a step up from quick pickling to small-batch fermenting (rough cutting produce to release juices and increase surface area for dry salt or brine to draw out moisture in an oxygen- and refrigeration-free environment) and even canning (a method of preserving fresh food in jars using high temperatures and a vacuum seal).
Whether as a crunchy addition to a burger or a sandwich, or as a snack or side or even the main meal, if pickling pickles your fancy, read on and relish.
The Short and Sweet … and Sometimes Sour of It
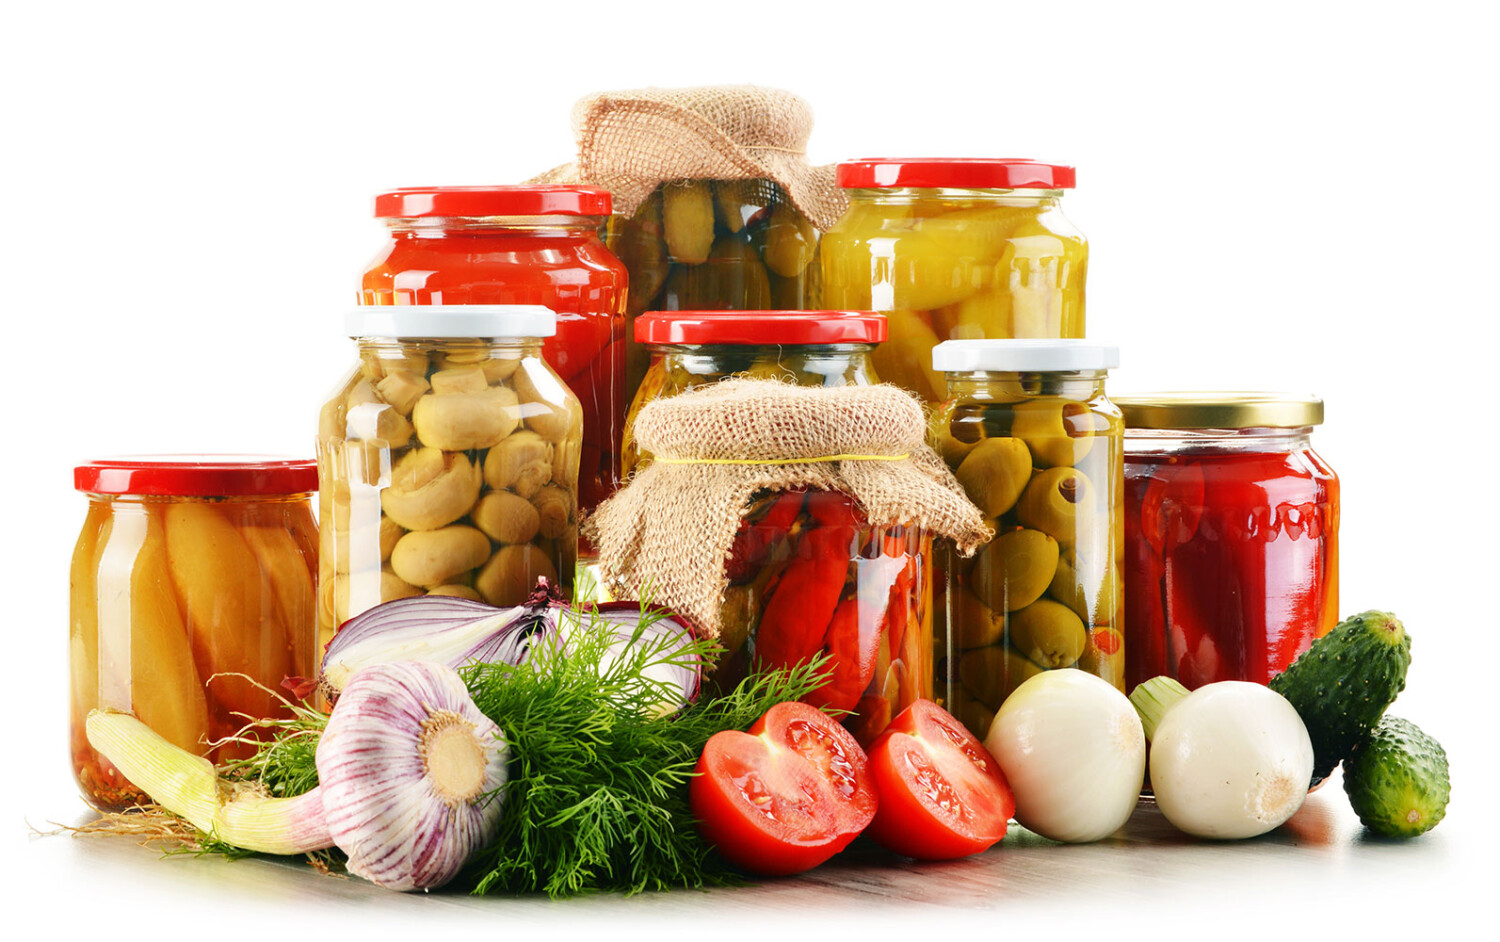
What did we do before refrigeration? Pickling emerged thousands of years ago as a method of food preservation. The process involves immersing foods in a solution of vinegar, salt, and sometimes sugar and other spices.
The result — after even a few hours of refrigeration — is tasty goodness and a whole host of health and environmental benefits.
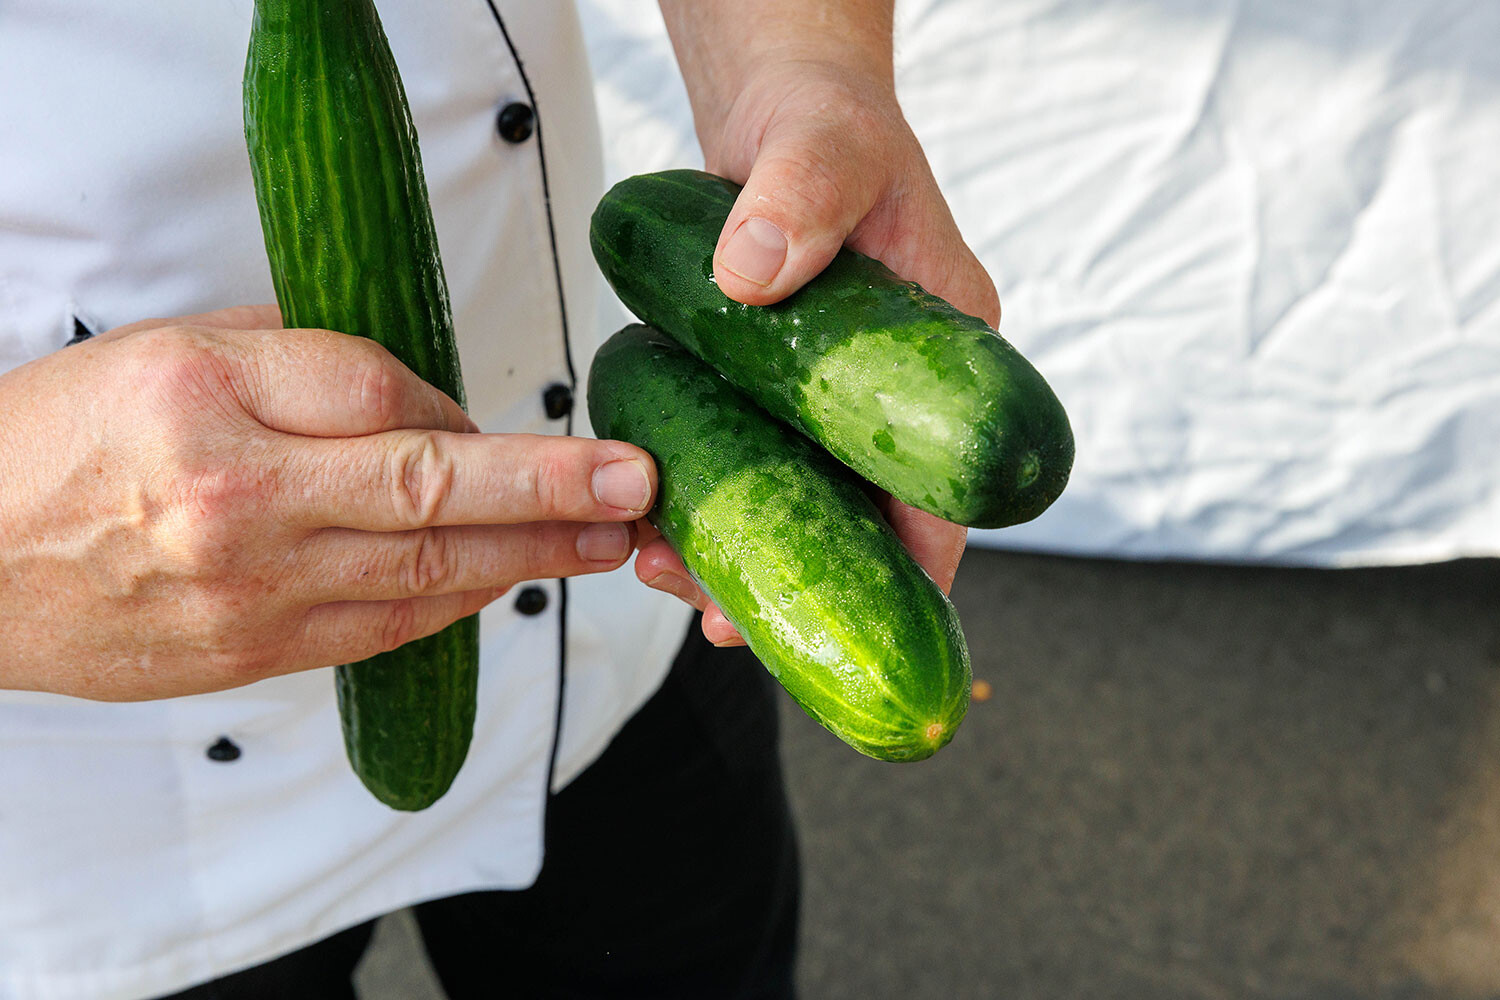
But we don’t continue to pickle foods purely for combating blood sugar spikes, reducing food spoilage, or even because we want to DIY. “Flavor is the biggest benefit,” says Samples of tastes that our palates have evolved to enjoy. “There is nothing as pristine as a perfect cucumber, but change its texture and it adds depth and dimension to what we eat.”
Luckily, transforming that pristine cucumber into the perfect pickle is easily achieved. Chef Samples’ Quick Pickles take just water, vinegar, salt, and sugar — plus boiling on the stove and immersing in the brine — followed by a few hours in the fridge to produce pickles safe to consume for 5–7 days.
And although he has made sauerkraut using nothing more than a head of cabbage, coarse salt, and a plastic bag, Samples assures that all levels of pickling rely on the same few essential pantry products and a foolproof process.
Pickling at Its Peak
There’s a good reason #pickledgarlic has amassed over 300 million videos on TikTok, a platform known for its entertaining and irreverent approaches to recipes. Comprising store-bought pickled garlic cloves, thyme, sriracha sauce, and chili powder, spicy pickled garlic makes a flavorful addition to a multitude of recipes or can be enjoyed as a standalone savory snack.
Whether you simply add all the ingredients to a jar and give it a good shake to combine before consuming, or prepare spicy pickled garlic from scratch by peeling the cloves, boiling the brine, and letting the mixture marinate in the fridge for a week, adding spices and sriracha before you dig in, the technique may differ, but the tools remain the same.
Such is the power of pickling that a casual interview in Cary’s Esteamed Coffee on a Tuesday morning can expand to include other people’s personal recollections of pickling.
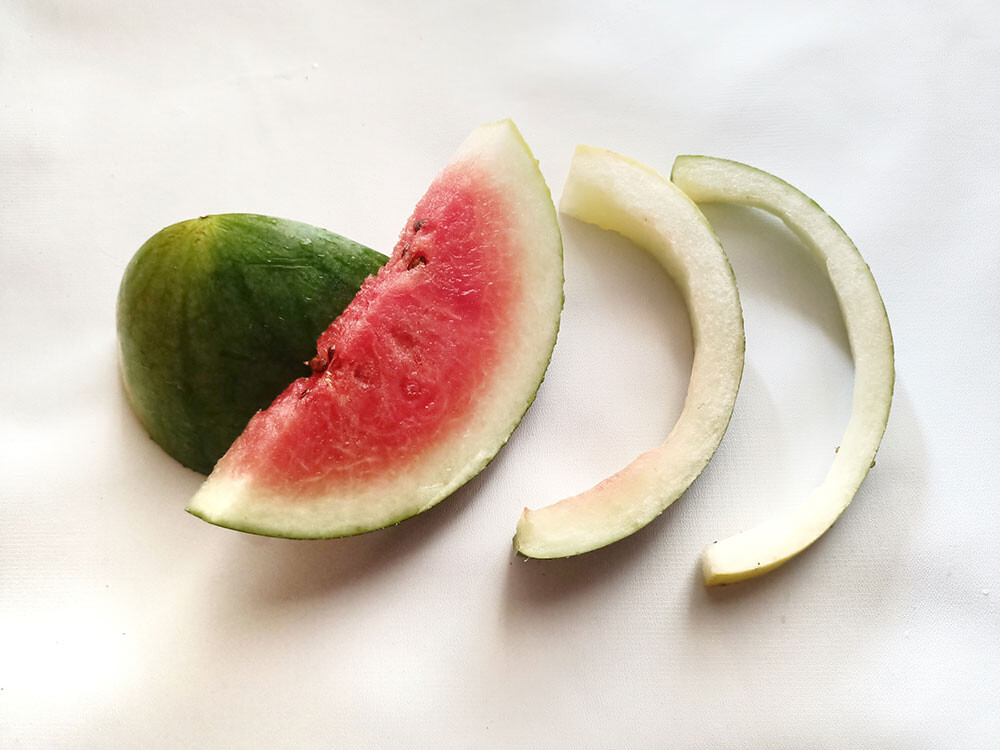
Cary resident Monica Bond feels what she describes as a “nostalgia” for pickling. Although she grew up in New York, Bond’s grandmother lived — and pickled — in North Carolina. Although the beloved pickled watermelon rinds required minimal ingredients, Bond fondly recalls taking them back to New York to enjoy after visits at her grandmother’s.
To this day, Bond can almost evoke the scent of allspice, sugar, and pickling salt on watermelon rinds cut “a little thick” and taste her childhood.
According to Chef Samples, you don’t even need a jar to pickle. As long as the container closes — and we’re not talking airtight — and the items are completely submerged in the brine, the process will work, and the product will be safe for consumption.
The Refrigerator Is Your Friend
So, when it comes to what you will need, here’s the dill:
- A container: A clean jar, Pyrex, or sealable Tupperware.
- Any type of 5% vinegar: White wine, champagne, rice, apple cider … even red wine, though be prepared for your brine (and pickled item) to take on a pinkish hue.
- Water: Since the solution will be boiled on the stove, purified water isn’t a necessity — though distilled is preferable.
- Table sugar: Any kind will do, but brown, maple, and honey sugar will all imbue different flavors.
- Salt: Although for many people pickling salt seems prescriptive, any non-ionized salt will work. The key is to not use table salt and remember that larger salt rocks will take longer to dissolve.
- Spices: This is where you can flex your flavor muscles by experimenting with different seasonings, though it’s also entirely possible — and preferred by some pickling purists — to let the simple salt, vinegar, and smattering of sugar brine do all the flavor enhancing. Seasonings and aromatics to consider include bay leaves, coriander seeds, mustard seed, caraway seed, dill weed, turmeric, horseradish, allspice, cinnamon, and cloves — and whole is typically preferred over ground.
Mitch has been working in kitchens for as long as he can remember. He started casually cooking at home with apple pies and egg sandwiches at the age of 9 or 10. His first paid gig was as a dishwasher in a retirement home at 14.
Since then, he has worked in various sectors of the industry, from fast food to fine dining and just about everything in between. After graduating college, he realized his degrees in English and Classical Languages were neither going to be as lucrative nor as fun as his 18-year-old self had imagined; he turned pro chef, got married, and had a daughter.
Many years later a new restaurant opening brought him to North Carolina. After nearly a decade there, he finally found his way into culinary school as an instructor and facilities manager.
Some of his earlier “in between” experience involved a few years as an artisan bread baker, which is where he supposes he first became fascinated with the world of fermentation, pickling, and preserving. Combine that with his love of pre-industrial civilizations, an explorer’s heart, a self-described foolish amount of confidence, and the facilities available to him at the culinary school, and he was off and experimenting in the school storeroom.
One of Mitch’s favorite fermentation memories involves making tepache, which is a refreshing, slightly alcoholic soda made from pineapple and brown sugar. After fermenting the initial mash in a 5-gallon bucket, the contents were strained into 1-gallon plastic jugs and placed in the cooler to carbonate. One jug of the subtle hooch got a little too excited and inflated like a ballon. When Mitch removed it to discard, he dropped it, causing the cap to pop off — and the jug to blast off, spewing its contents as it cruised about 50 feet across the floor like a children’s water-pressurized rocket toy.
His experiments have mellowed with age. These days he enjoys making quick pickles with okra, cucumbers, and eggs, though he did recently have a dream about pickling sausages. Much to his wife’s dismay, vats and jars of kimchi, sauerkraut, and koji are frequent house guests.
If there is just one element of the process that will make or break your pickled goods, it’s the 3-2-1 ratio of three parts vinegar, two parts water, one part sugar. Salt is necessary, and spices are always optional, but the 3-2-1 ratio remains a dill-breaker.
Produce Ripe for Pickling
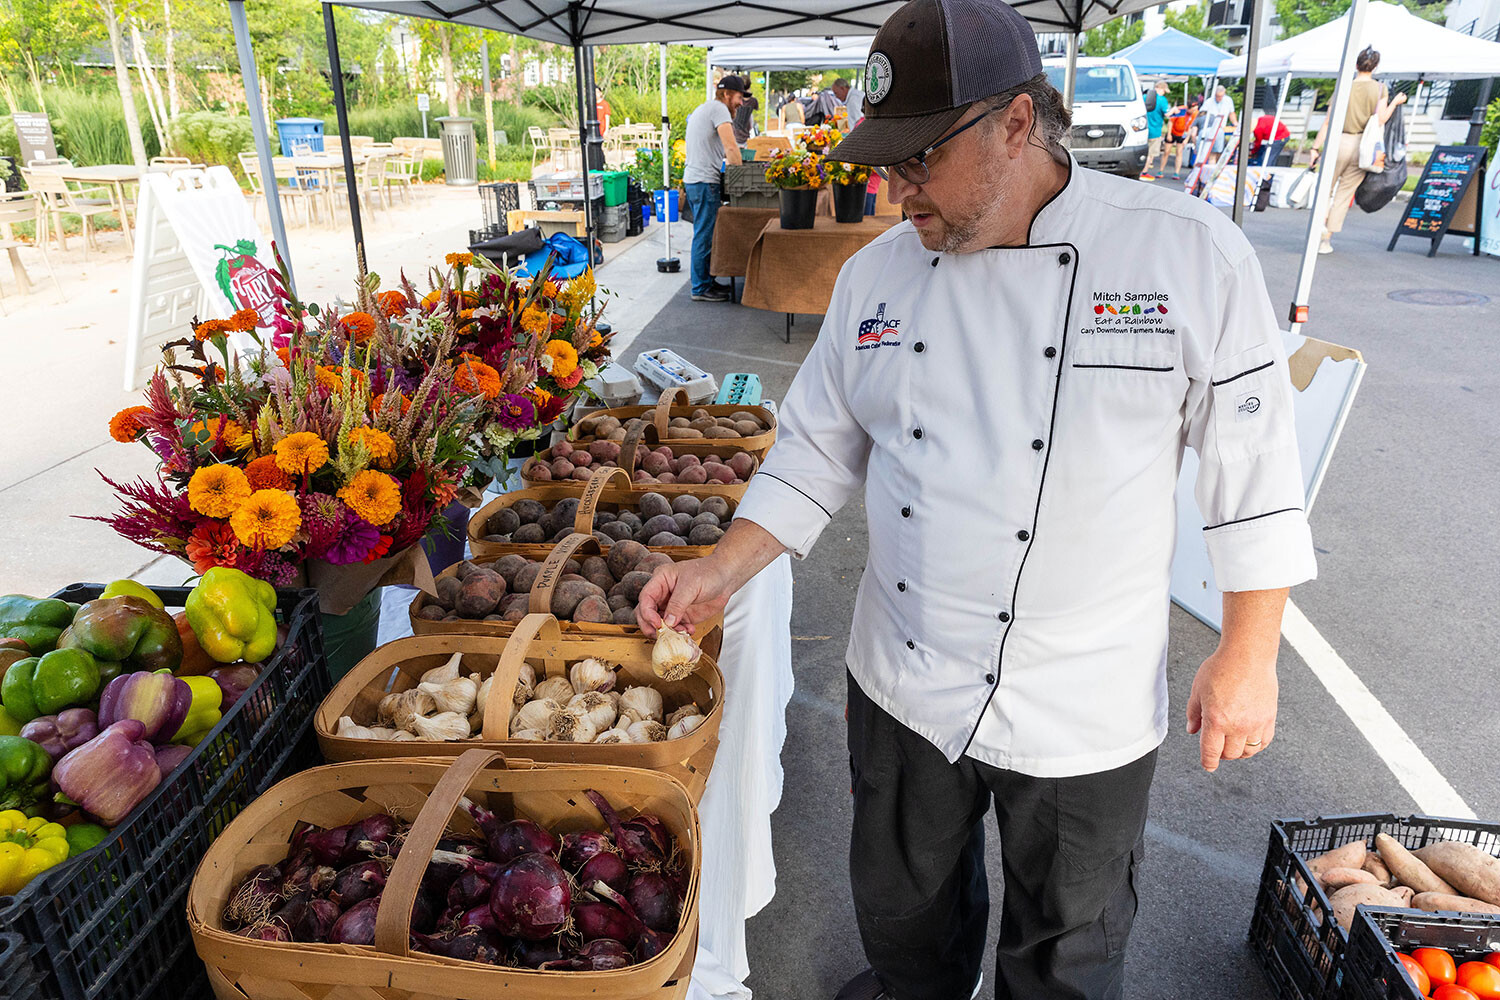
As with any recipe, the better the quality of the starting ingredients, the better the result. While organic isn’t required, seasonality is a factor in pickling that shouldn’t just be accepted — it should be adopted and appreciated.
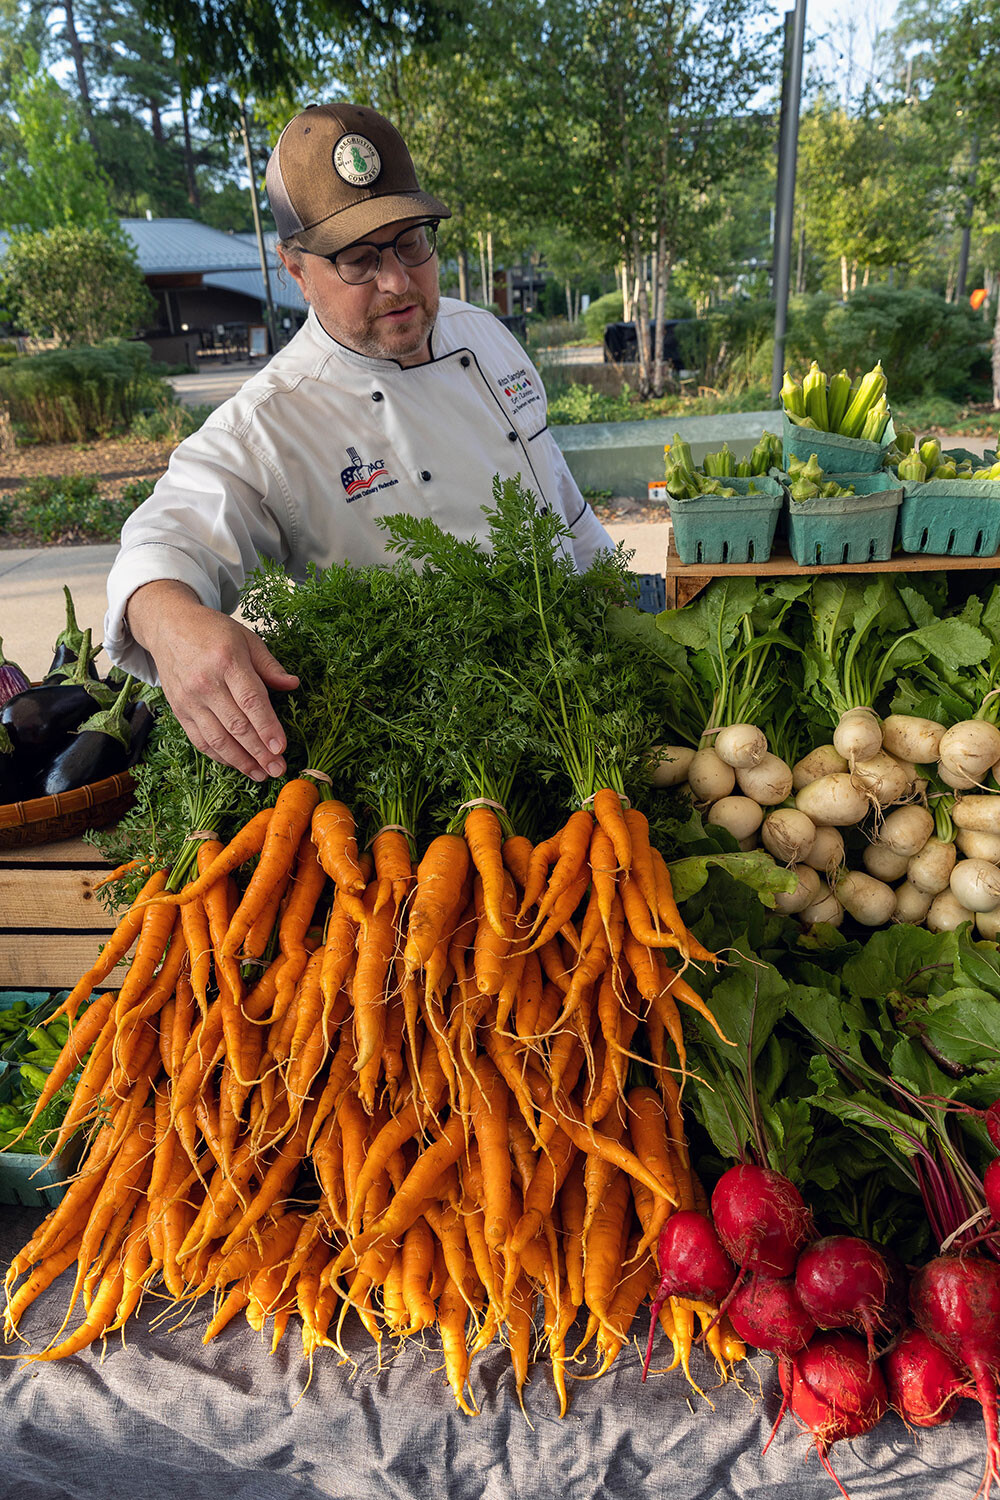
Visit a farmers market and procure the freshest produce. Some of Chef Samples’ suggestions include:
- Cucumbers
- Green beans
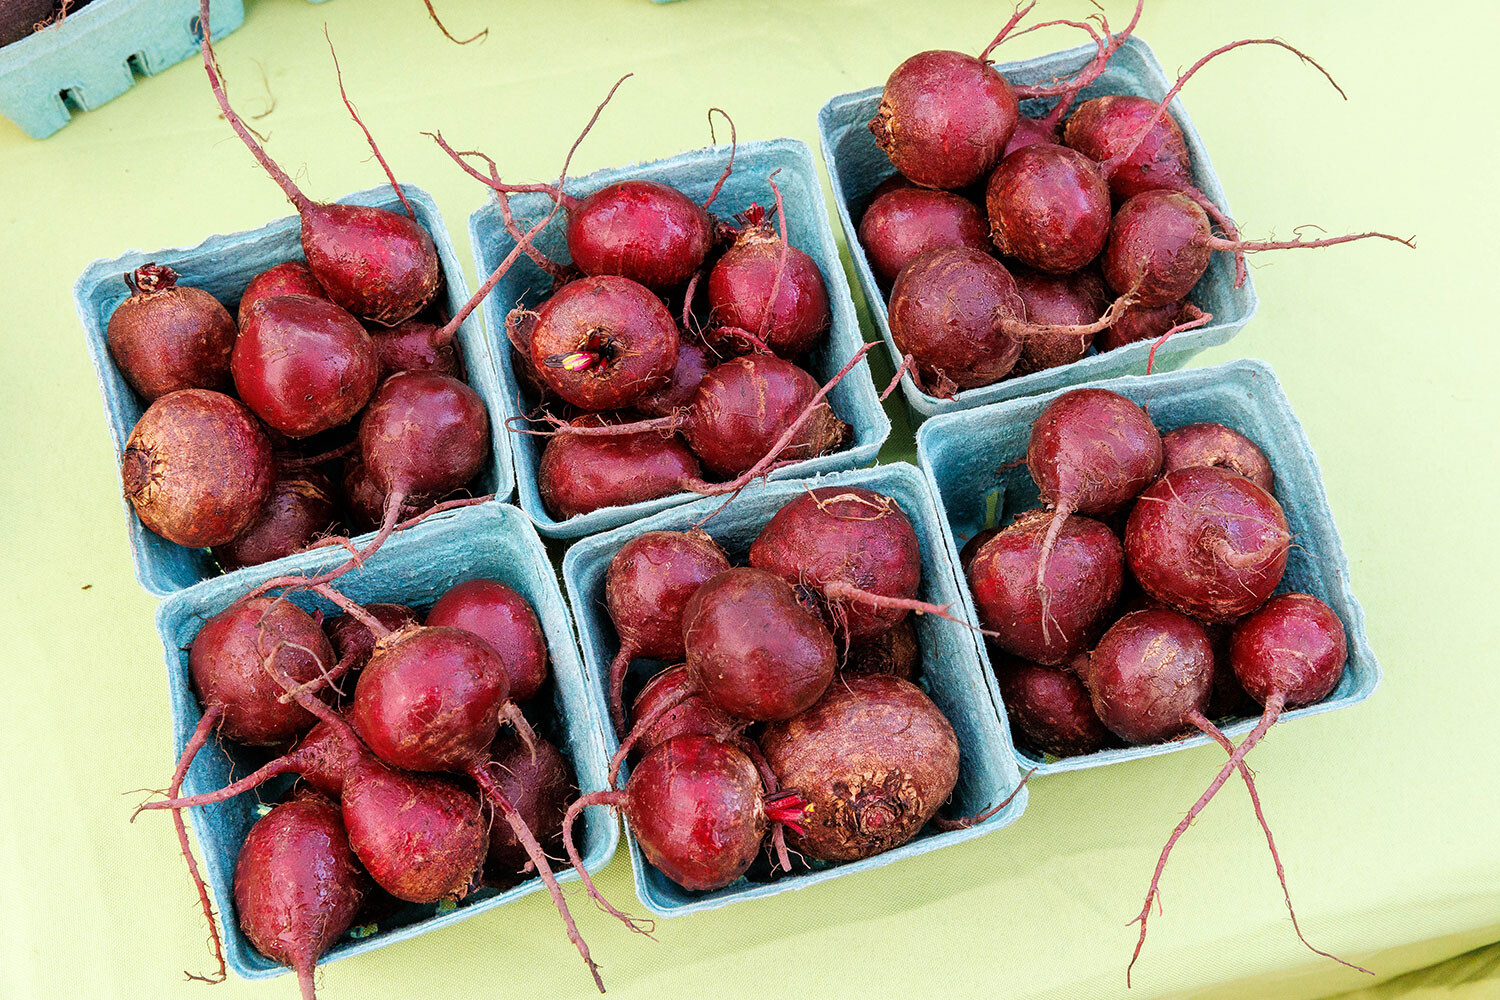
- Beets
- Cauliflower
- Carrots (cut into small pieces to better absorb brine)
- Onions
- Garlic (expect the brine to take on a greenish color, due to the sulfur present)
- Okra
- Jalapenos
- Beets
- Grapes
- Peaches
- Berries
- Apples
- Mangoes
Be sure to check for mushiness prior to pickling. The last thing you want is soft, slimy, or smelly pickled goods. The goal is crisp and crunchy!
Start Sousing!
Don’t fret if it seems the best of the season’s produce is behind us, or summer fruits and vegetables have worn out their welcome in your recipes. It’s prime time to try pickling for yourself.
Recipes
CAUTION: These items are not canned and need to be kept in the refrigerator.
Quick Pickled Okra (yield: approximately 2 pints)
4 garlic cloves, smashed and peeled
½ teaspoon dried oregano
1/8 teaspoon dried basil
2 dried bay leaves
1 teaspoon black peppercorns
1 teaspoon yellow mustard seeds
1 teaspoon red pepper flakes
½ teaspoon fennel seeds
1 pound fresh okra
2 cups distilled white vinegar
1 cup water
¼ cup granulated sugar
2 tablespoons kosher salt
Procedure:
- Wash two (16-ounce) wide-mouth jars, lids and rims with hot, soapy water. Dry them with clean towels.
- Divide garlic cloves and spices (through fennel seeds) evenly between the two jars.
- Wash and dry the okra. Trim the tops and cut lengthwise into halves.
- Divide the okra spears evenly among the jars. Place them in the jars stem end down. When no more fit, pack the rest in stem side up.
- Add the vinegar, water, sugar, and salt to a medium pot and bring to a boil on high heat, stirring occasionally, until the salt and sugar dissolve completely.
- Remove from the heat and add the liquid to the jars. Lid the jars and cool to room temperature before storing in the fridge.
Note: Allow at least 4 hours for the seasoning to penetrate the okra.
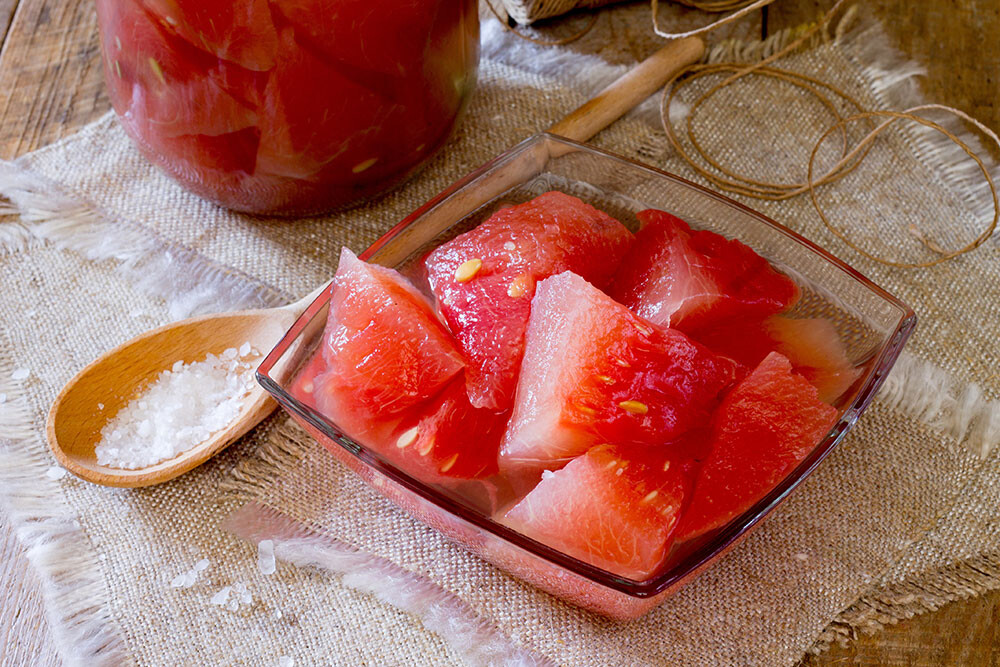
Pickled Watermelon Rind (yield: about 2 quarts)
2 pounds watermelon
1 cup apple cider vinegar
1 cup water
¾ cup sugar
1 tablespoon grated ginger
4 teaspoons kosher salt
1 teaspoon allspice berries
Procedure:
- Using a sharp peeler or knife, remove the skin from the rind and discard the skin. You should have mostly white rind and maybe a little pink. Cut it into 1-inch cubes and reserve.
- Bring the remaining ingredients to a boil in a sauce pan large enough to hold them and the rind. Stir until the sugar dissolves.
- Add the watermelon rind into the pan and return to a boil.
- Remove the pan from the heat and allow to cool for half an hour.
- Transfer the rind and liquid into two 1-quart jars. Cover and allow to cool for another hour.
- Refrigerate overnight for flavor to develop. These pickles will last a month in the refrigerator.
Spicy Skyttles (yield: about 1 ½ quarts)
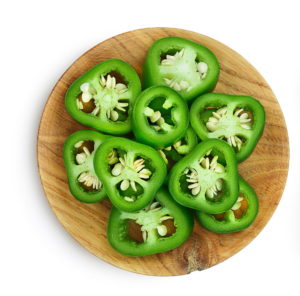
Note: This recipe is often made using solely green jalapenos and referred to as cowboy candy. It’s more fun to use an assortment of different colored peppers, allowing you to adjust the heat level by using peppers whose flavor you like and heat you can tolerate. It’s best to use medium-flesh peppers, as thin-walled peppers can get leathery and thick-walled peppers may not absorb as much “pickle” flavor. Red and green jalapeno, multicolored cayenne, aji amarillo, piquillo, Peruvian purple, Pasilla, Biquinho, Fresno, etc. all work well. The more color the better.
1 pound assorted fresh medium-flesh peppers
1 cup white or apple cider vinegar
2 cups white granulated sugar
¼ teaspoon celery seed
½ teaspoon cardamon, or 3 whole pods
1 teaspoon mustard seed
1 teaspoon granulated garlic
1 teaspoon kosher salt
Procedure:
- Clean and cut your peppers into ¼-inch rings and set aside.
- Place the remaining ingredients into a sauce pan. Bring to a boil and stir to dissolve the sugar completely. Make sure the pan is large enough to hold the peppers
- When the sugar is dissolved, stir in the peppers and return to a boil.
- Remove from heat and allow to cool for about 5 minutes.
- Using a slotted spoon, transfer the peppers into jars.
- Top the jars with the liquid from the pan, making sure to cover the peppers by about ½ inch
- Wipe the rims of the jars with a damp towel, cover and refrigerate for at least a week. Flavor will improve over the next 3 to 4 weeks. You can keep these in the refrigerator for up to 3 months.
Ceviche (approximately 6 servings)
1 pound very fresh firm-fleshed fish like grouper, halibut, snapper, or small shrimp
1 cup fresh-squeezed lime juice
½ teaspoon kosher salt
1 to 2 jalapeno or serrano peppers, seeded and diced
2 tablespoons chopped cilantro
1 ½ tablespoons olive oil
1 teaspoon oregano
salt to taste
Procedure:
- Chop the fish or shrimp into ½-inch pieces, place it in a bowl, and stir in the lime juice and salt.
- Cover and place in the refrigerator for about 30 minutes to 1 hour.
- When the fish has slightly firmed or the shrimp has turned to a pink color, transfer it to another bowl, making sure to reserve the lime juice.
- Stir the remaining ingredients into the seafood, adjust the seasoning, and add reserved lime juice to taste. Refrigerate until time of service.
- Serve garnished with avocado, pico de gallo, and crackers.
Sauerkraut (yield: about 2 quarts)
4 pounds green or red cabbage, cleaned and shredded
2 tablespoons kosher salt
Procedure:
- Combine the cabbage and salt in a large bowl and gently massage the salt into the cabbage.
- Cover and allow time for juice to collect in the bowl from the cabbage. This could take from 10 to 30 minutes.
- Pack the cabbage into two 1-quart jars, making sure to cover the cabbage with remaining liquid.
- Put a loose lid on the jars and store in a cool, dark place.
- Burp the lid on the jars daily to release any accumulated gas. Give the jar a little shake to release any bubble that might be causing the cabbage to float, and push it down under the brine level if needed.
- Begin tasting the kraut after about 7 to 9 days. When it reaches your preferred level of tanginess, cover and refrigerate to stop the fermentation process.
Notes: If you don’t have enough liquid to cover the cabbage in the third step, make a brine of 4 cups distilled water to 2 tablespoons kosher salt and use it to cover the cabbage. If you’re having trouble with the cabbage floating, fill Ziplock bags with this same brine and place them in the jars to keep the cabbage submerged.
Sriracha (yield: 1-2 pints, depending on peppers used)
Accumulating enough red jalapenos for a single-pepper sauce is not always possible. I have used combinations of jalapeno, habanero, cayenne, or cowhorn — as long as they are hot and red in color.
The matter that doesn’t go through the strainer can be saved and jarred to use as sambal, or dried and ground into sriracha dust.
1 ½ pounds red jalapenos, stems removed
6 cloves garlic, peeled
4 tablespoons light brown sugar
kosher salt: 1 tablespoon if using Morton’s, about 1 ½ tablespoons if using Diamond Crystal
½ cup distilled white vinegar
Procedure:
- Place peppers, garlic, brown sugar, and salt into a food processor and process thoroughly, for about 3-5 minutes.
- Place processed pepper mash into a glass jar or bowl and cover lightly with a lid or cheesecloth. It needs to breathe, but since you are going to burp it just about every day, a loose lid works fine.
- Leave container out at room temperature (between 70 and 80 is good). After about 24 to 48 hours, fermentation will begin. Small air pockets will be visible in the mash, and it will expand. Once the mash expands, you may see some separation of mash and brine. This is normal.
- After fermentation has started, stir the mash every 24 hours with a clean, non-reactive spoon.
- Repeat every 24 hours, until fermentation stops and the mass no longer expands. This usually takes 7-10 days depending on the temperature.
- Force the mash through a fine strainer or chinois into a pan, leaving only very dry pulp in the strainer (reserve the pulp for later use).
- Add vinegar to the pan with the strained sauce, bring to a simmer on the stove and reduce to the desired consistency.
- Cool, jar, and store in the refrigerator for use.
- The Art of Pickling
- Restaurant Profile: Herons
- School’s In!
- The Food Guy
- Worth the Drive: Nightingale Rooftop Restaurant & Bar
- Abundant Brunch Flavors Await
- Small Business Spotlight: Boba Baba Café
- Nonprofit Spotlight: Howdy Homemade Ice Cream
- Erica Chats: The Triangle Ice Cream Tour
- Worth the Drive: The Hackney
- Liquid Assets: Chicken Yard Pilsner
- Garden Adventurer: Grow a Joe
- Liquid Assets: That CP Espresso
- On Trend: Fondue
- Things to Do: August 2024


Excellent article on Pickled Watermelon Rind